Creating, editing and running scheduled operations
Our first cron job
In this article, we will create a very simple cron job called "echo". It will just print a value of an environment variable set by injecting a secret, and the lines printed by the cron job will be registered in the logs and can later be viewed there.
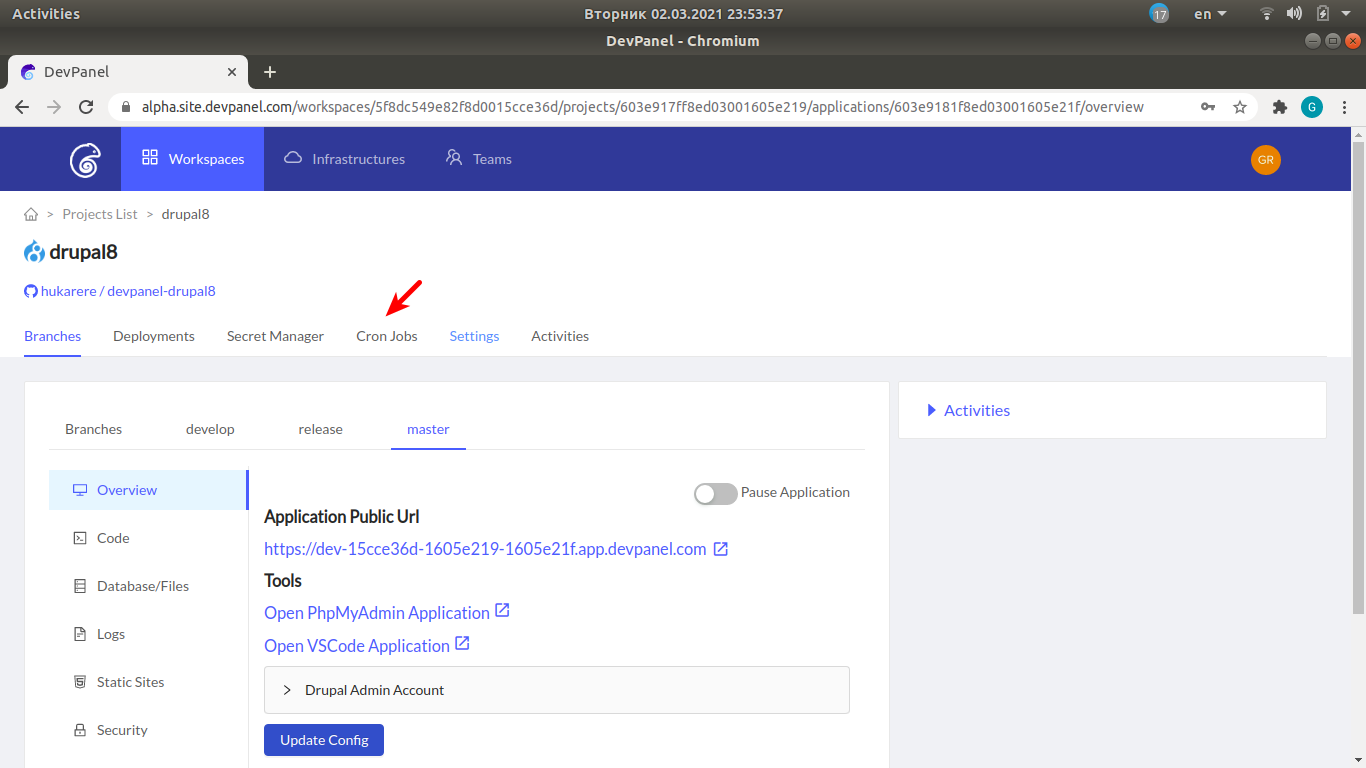
Opening the cron job manager
In the project navigation menu, click on "Cron Jobs".
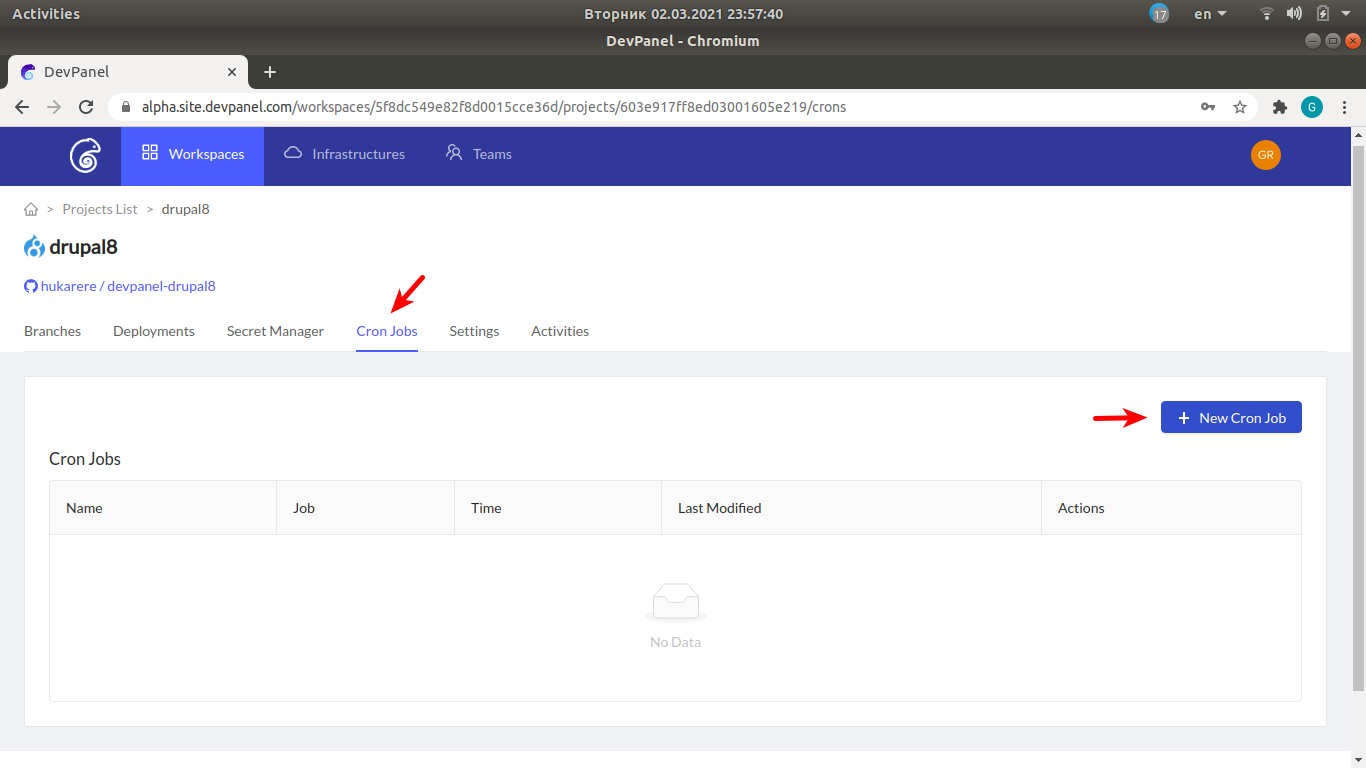
Creating a new cron job
In the cron job manager, click on "New Cron Job".
Setting the cron job name and specifying a secret to use
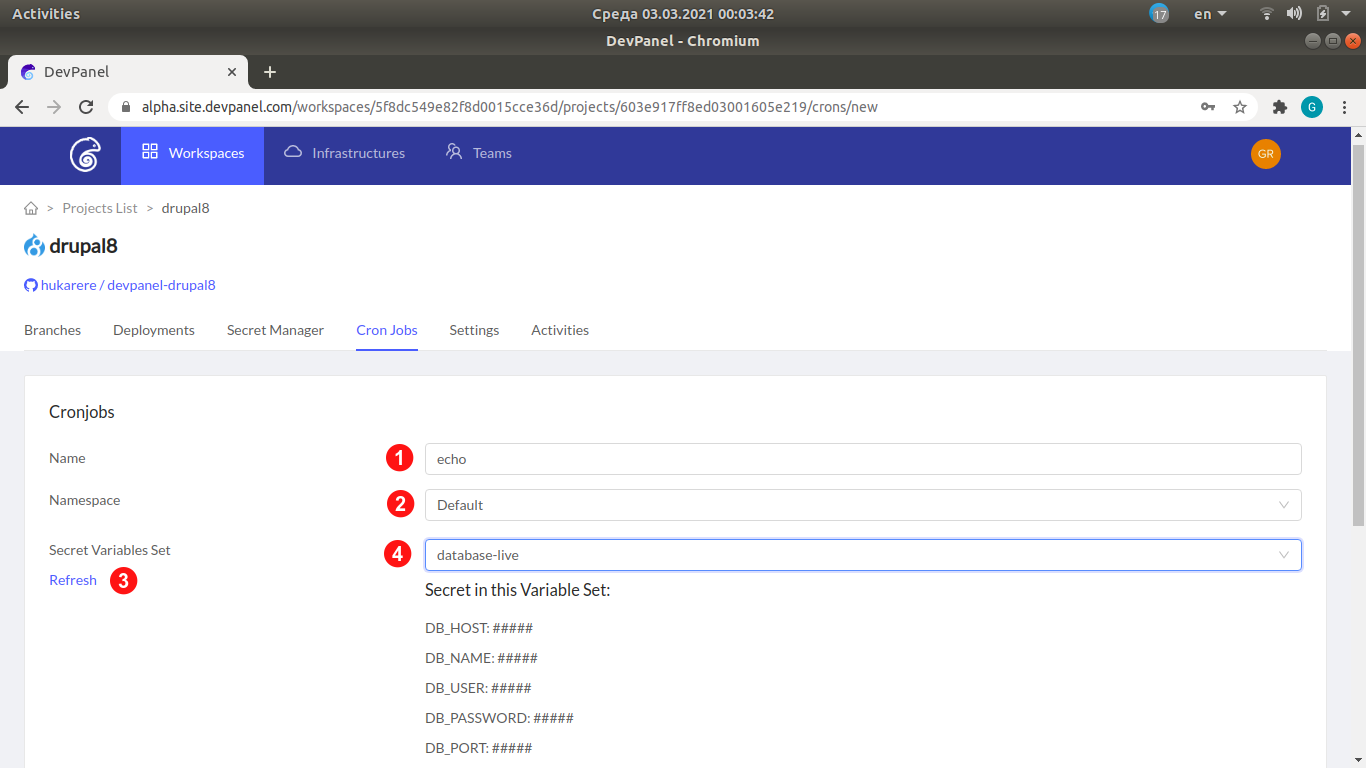
- Enter the name of the new cron job
- Namespace: just accept the default
- Using a secret is optional. If we are going to use it, first click on "Refresh" to make sure any recently created secrets will be visible in the list
- Select the secret name from the popup list. Once selected, the list of variables in the secret will be printed below
Then scroll down to fill other fields described in the next subsection.
Setting the cron job schedule and container image to run

- HELM Chart Name: just accept the default
- HELM Chart Version: just accept the default
- Job Schedule.
Let us run our task every two minutes: enter
*/2 * * * *. - The schedule notation is the same as in crontabs of the UNIX cron program. If you are not familiar with this notation, visit the site https://crontab.guru/, which will help you build the schedule specification based on the values of minutes, hours, days of months or week, months and their intervals that you will specify.
- Select the container image to run. By default, docker images are used. We will use "busybox:latest", which is a minimalistic image containing basic Linux commands.
Then scroll down to fill other fields described in the next subsection.
Specifying the command to run
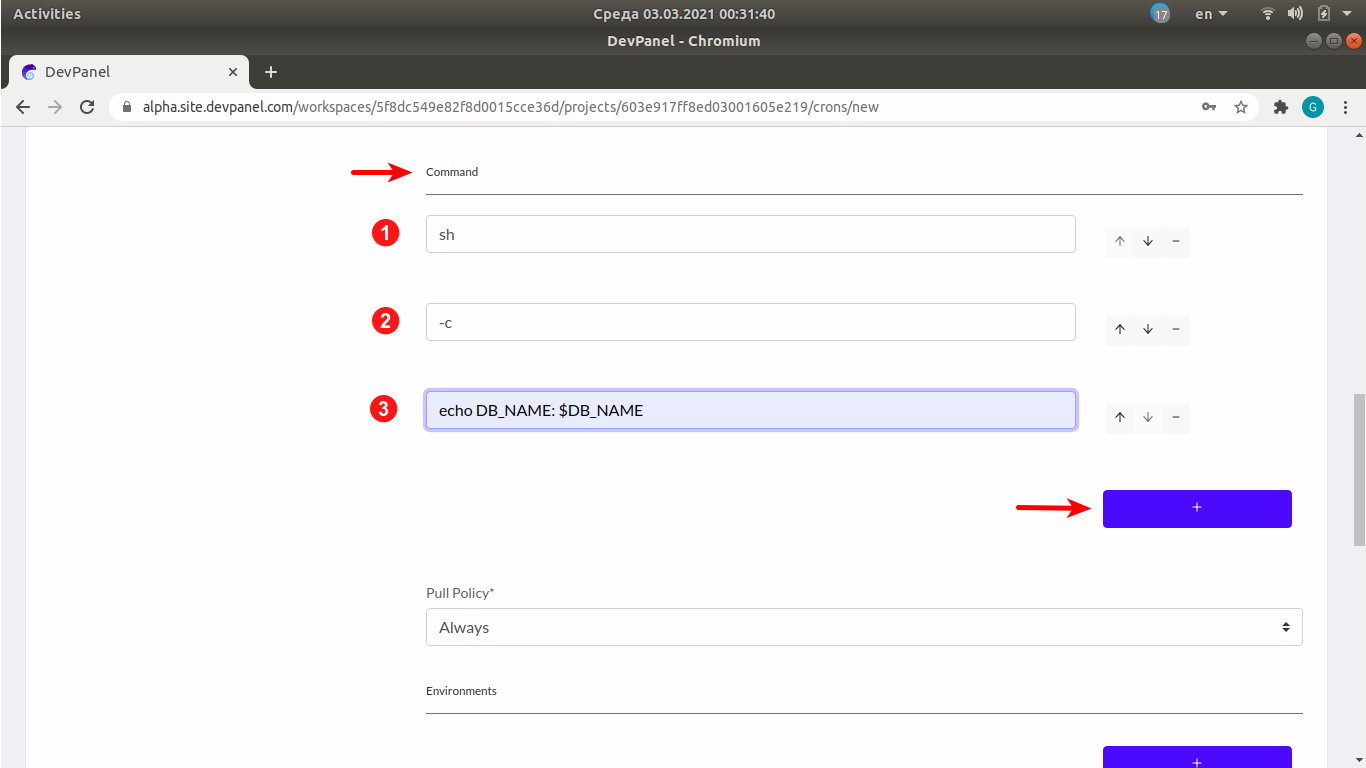
Here we can specify the command that will be passed to the container in which our cron job will run. In this example, we will use the command sh -c 'echo DB_NAME: $DB_NAME', which will print the environment variable $DB_NAME from the "database-live" secret we specified before.
Each argument of the command must be in a separate field. Use the "+" button to create as many fields as there will be arguments.
Create 3 fields using the "+" button and enter the 3 command arguments:
sh-cecho DB_NAME: $DB_NAME
Then scroll down to fill other fields described in the next subsection.
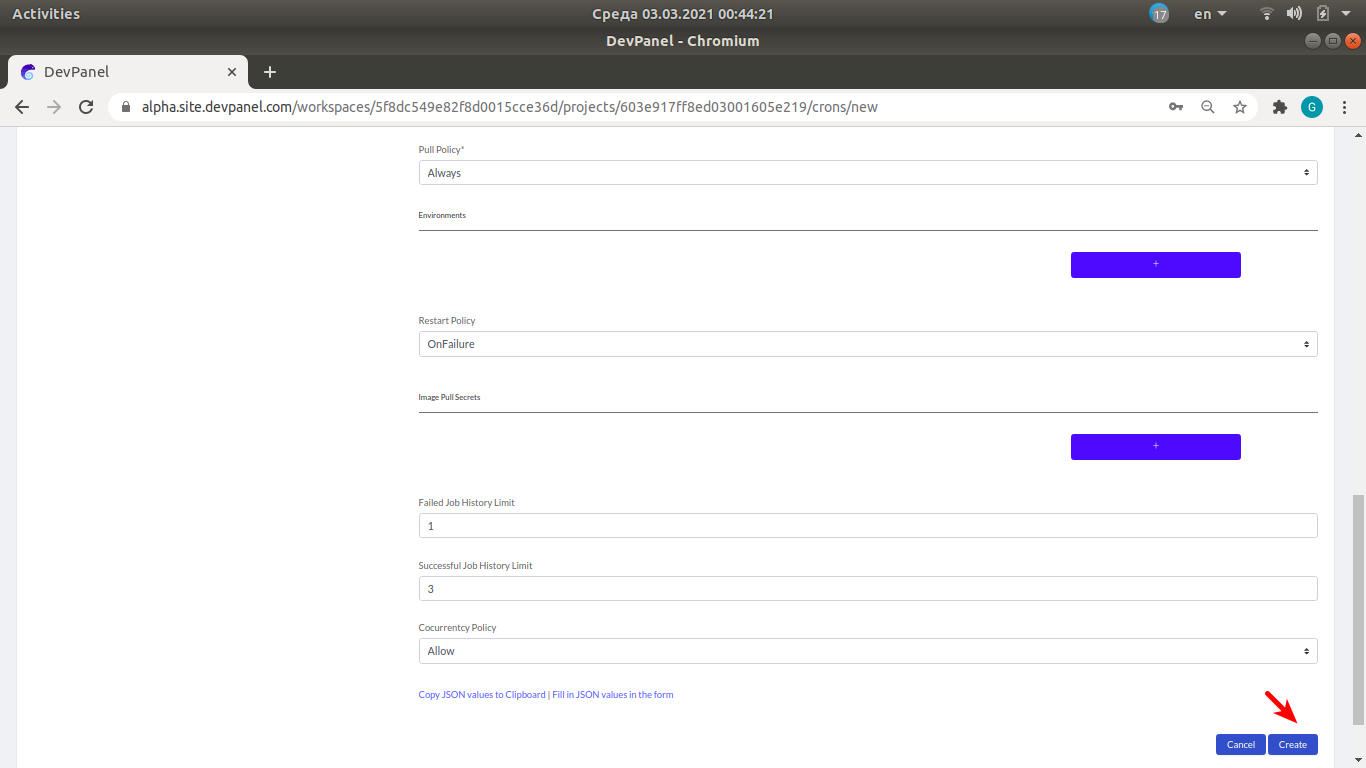
Accept the defaults for all the remaining fields and click "Create"
List of cron jobs
Now we can see our newly created cron job in the list of cron jobs.
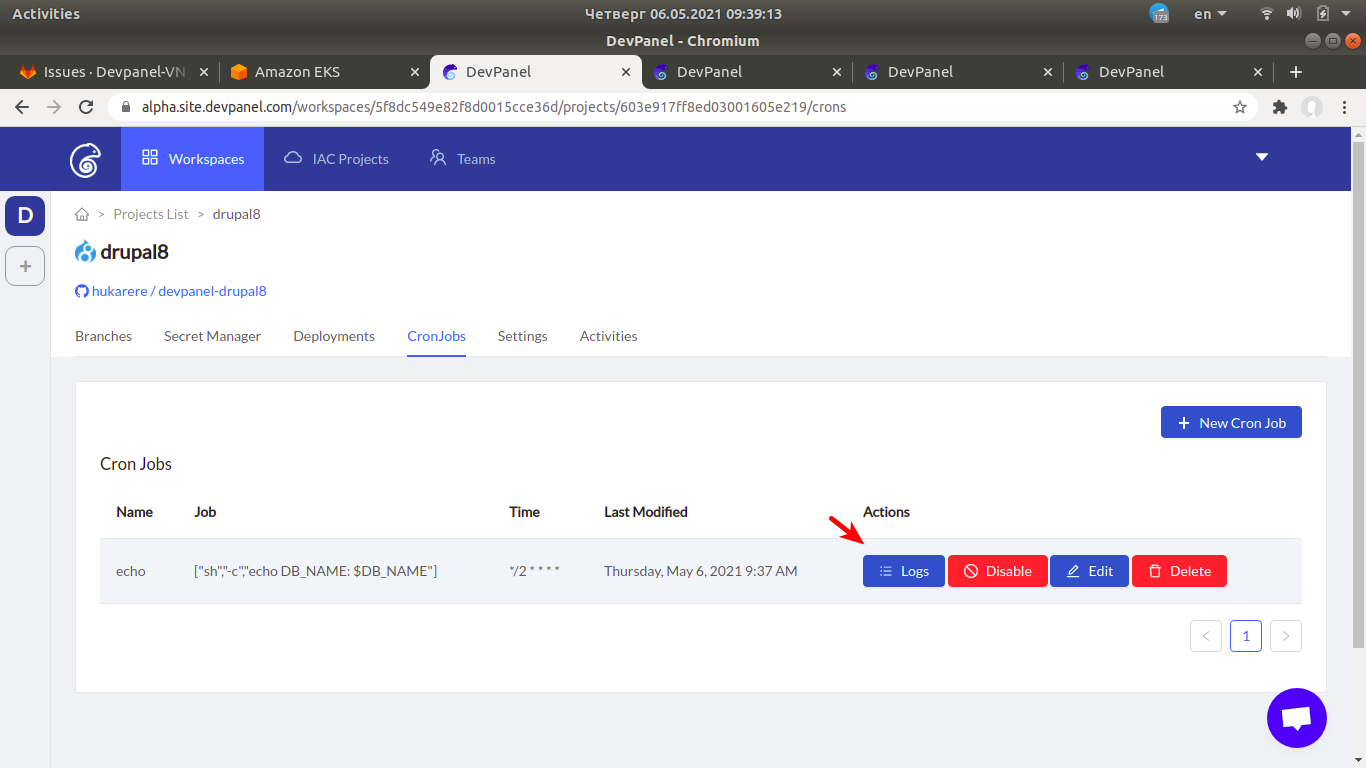
After some time, click on the "Logs" button to see the output of the cron job. In the Logs window that will open, you should see the output of the "echo" command, assuming that the DB_NAME variable in our secret is equal to "namekpznnqjckw":
DB_NAME: namekpznnqjckwThis message will be repeated every two minutes.
Disabling or deleting the cronjob
If runnning the cronjob is no longer required, use the "Disable" or "Delete" buttons shown on the screenshot above.