Creating a space for your apps and teams
Creating Workspaces
Workspaces hold all your Projects, Applications and Teams.
Each Workspace is connected to at least one cluster.
Workspaces have Owners and Administrators too.
Create a Workspace
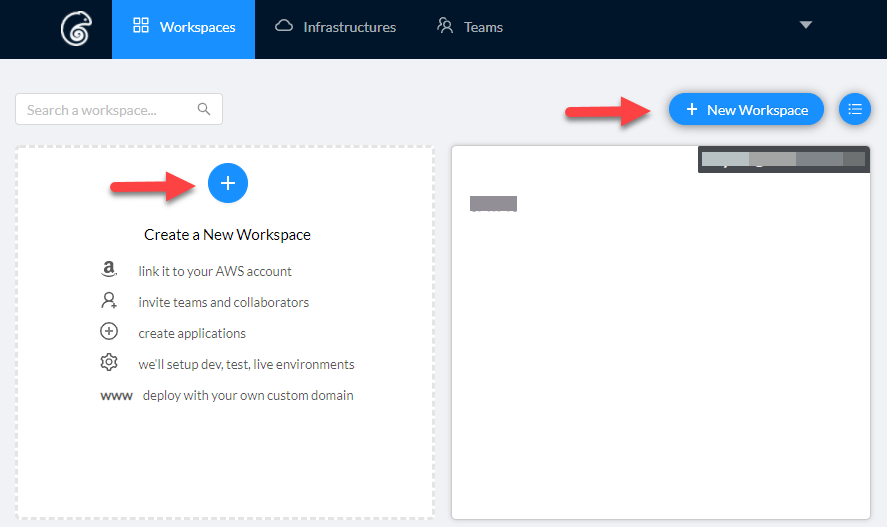
Name the Workspace
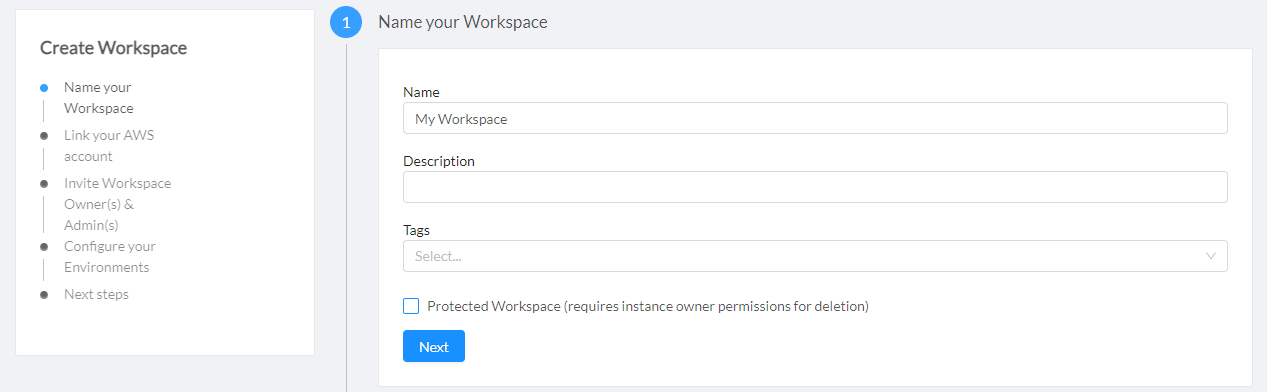
We recommend that you check "Protected Workspace" if you plan to run production workloads in this workspace and don't want someone to accidentally delete this workspace.
If you have an Enterprise Edition of DevPanel, then only the DevPanel administrators will be able to delete these workspaces after you create them.
Link Workspace to AWS Account
When you create a workspace, you will be given an option to link that workspace to an AWS account. Just follow the steps below. There's a video that shows you how the process works... we recommend you watch the video the at least once before you attempt this process.
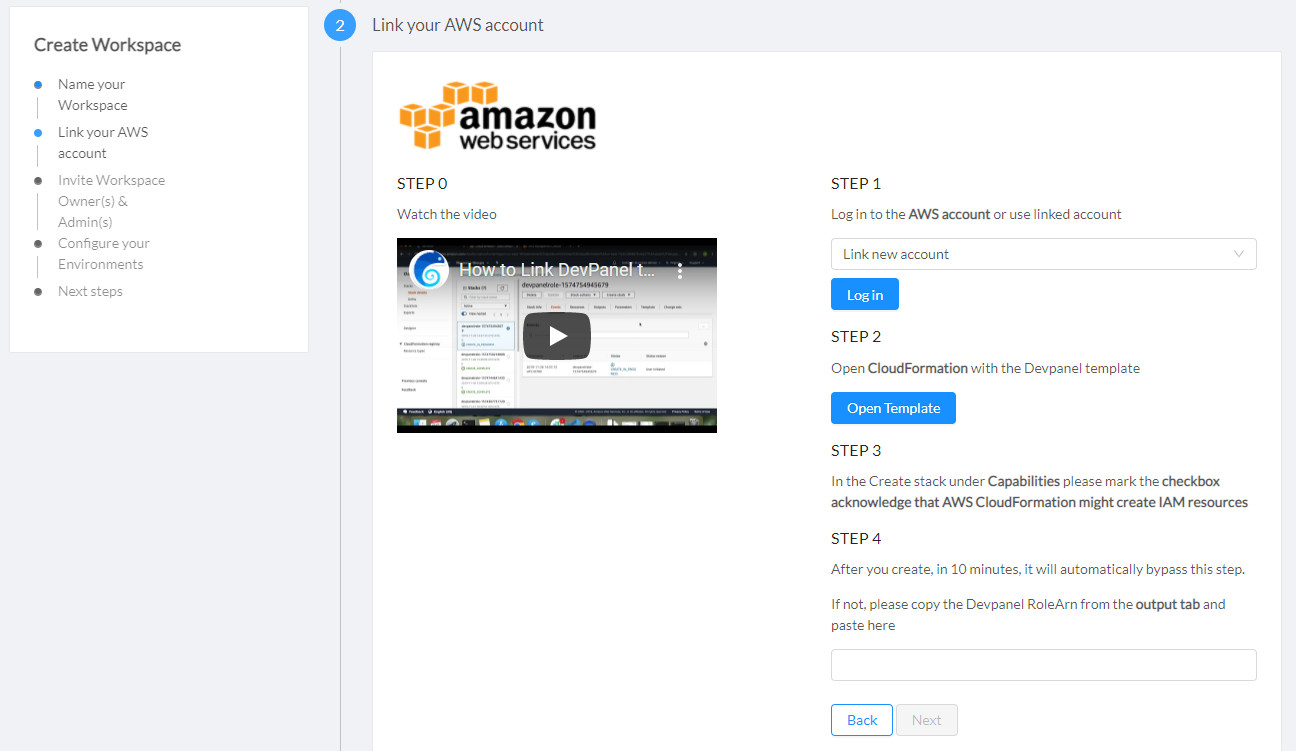
You can also link that workspace to a previously linked AWS account. For this, simply select another workspace (that you had created previously) from the dropdown menu and DevPanel will create infrastructure for this workspace in the account linked to the selected workspace.

Invite Owners and Admins
Each Workspace can have multiple Owners and Admins. Owners can add and remove Admins, other Owners, and can delete the Workspace. Admins can add and remove other Admins and can manage Developers and Teams in the Workspace. Admins are also able to delete projects and applications at will.
You can also invite an entire Team as an Owner or Admin to a Workspace. The benefit of using teams is that when you add or remove people from a team, they will gain or lose their access across the board.
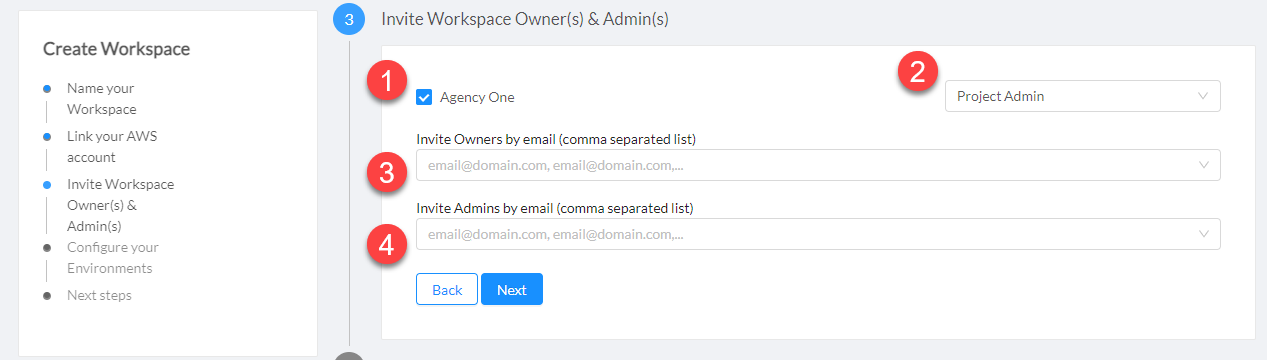
Here's how it works:
- If you select a team for access
- you have to specify the level of access for that team
- you can invite Owners by email (comma separated)
- and invite Admins by email as well (comma separated)
Specify and Size your Infrastructure
Next you can specify the region, the size, and specs for your cluster and your database.

You can click "Complete Setup" only after you agree to the conditions listed on the page.
Your agreements include:
- Authorize DevPanel to configure and manage your account
- Authorize DevPanel to use managed services as needed
- Agree not to interfere with DevPanel's operations in this account
- Agree not to run anything else in this account besides DevPanel
- Understant that you are responsible for paying your cloud provider bills directly
The Infrastructure creation process can take up to 30 minutes.