How to setup CDN with a custom domain for your application
Select an application
In this example, we will use the following Drupal 9 application:

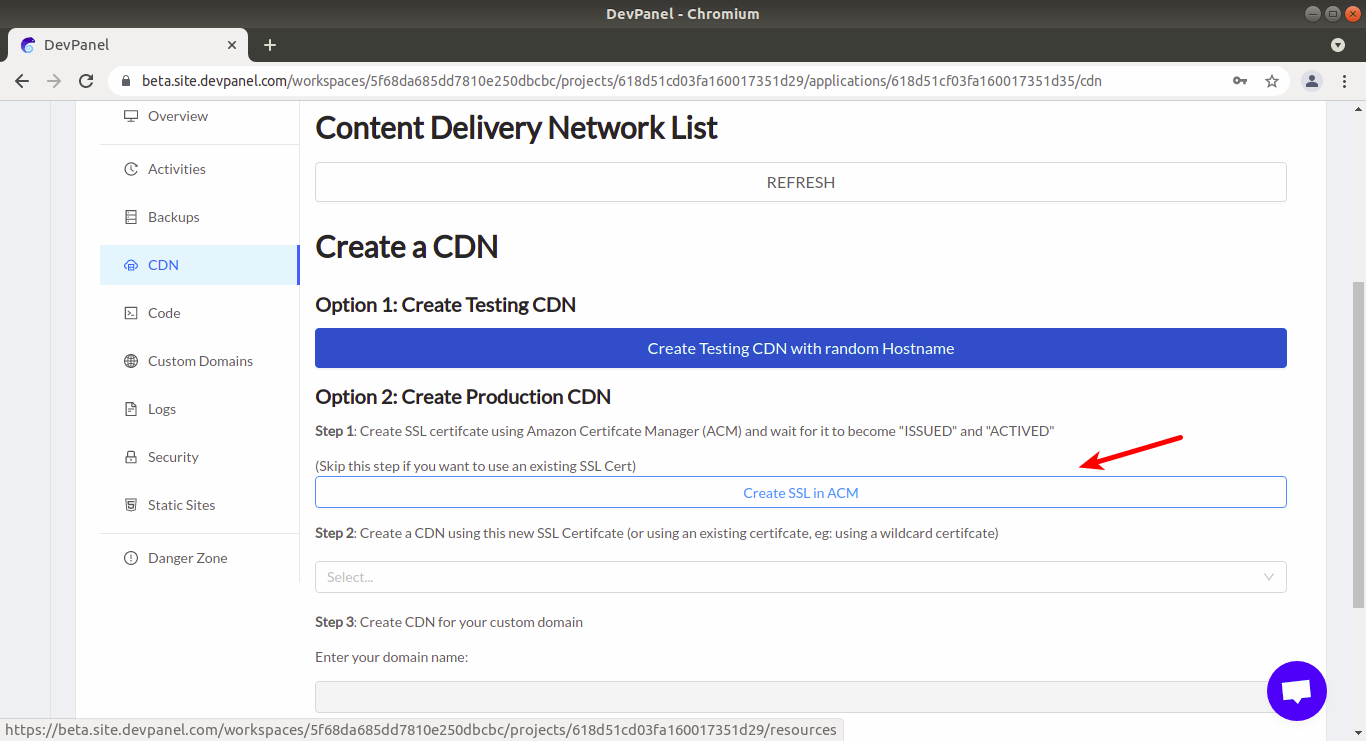
In order to setup CDN (Content Delivery Network) for this application, go to the CDN tab as pointed by the arrow on the screenshot above.
Choose a custom domain
In our example, we will use the domain cdn.grg-drupal9.devpanel.net for accessing our application via CDN (Content Delivery Network), while reserving the domain grg-drupal9.devpanel.net for direct access to our application bypassing CDN. If we don't need the latter, we can use grg-drupal9.devpanel.net without any prefix, but let us choose the prefixed version cdn.grg-drupal9.devpanel.net for now.
In order to proceed, you will need to have access to DNS for the domain. You will have to create CNAME records as explained in the following sections.
Setting up CDN
Create SSL certificate in ACM
First, we need to create an SSL certicicate for the custom domain of our choice using ACM (AWS Certificate Manager).
In the CDN tab, we need the Option 2 "Create Production CDN" (Option 1 is used for testing CDN with a randomly generated subdomain under cloudfront.net).
Click on the button "Create SSL in ACM" under Option 2 as shown below:
This will redirect us to the Resources tab, which has "SSL in ACM" among available resouces that can be created:
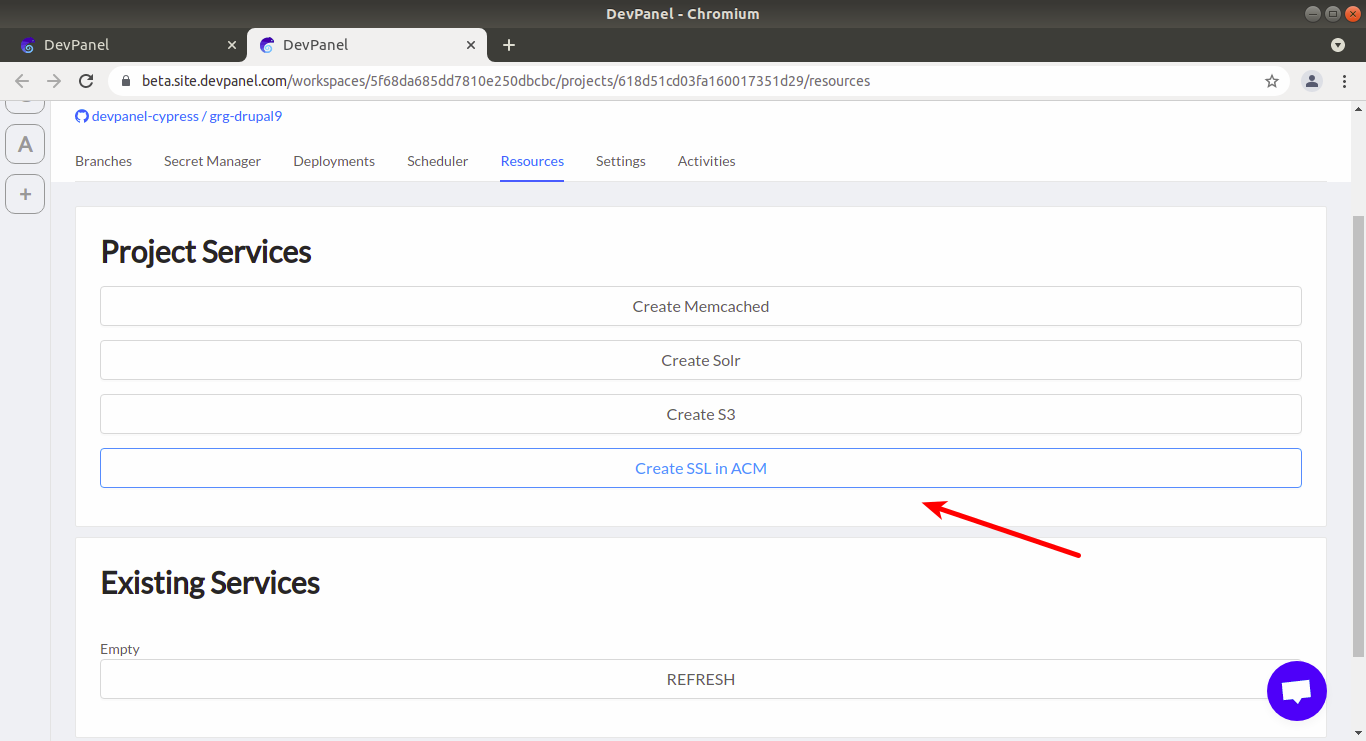
Again, click on "Create SSL in ACM" as shown above. After that, a form for specifying the domain name will appear:
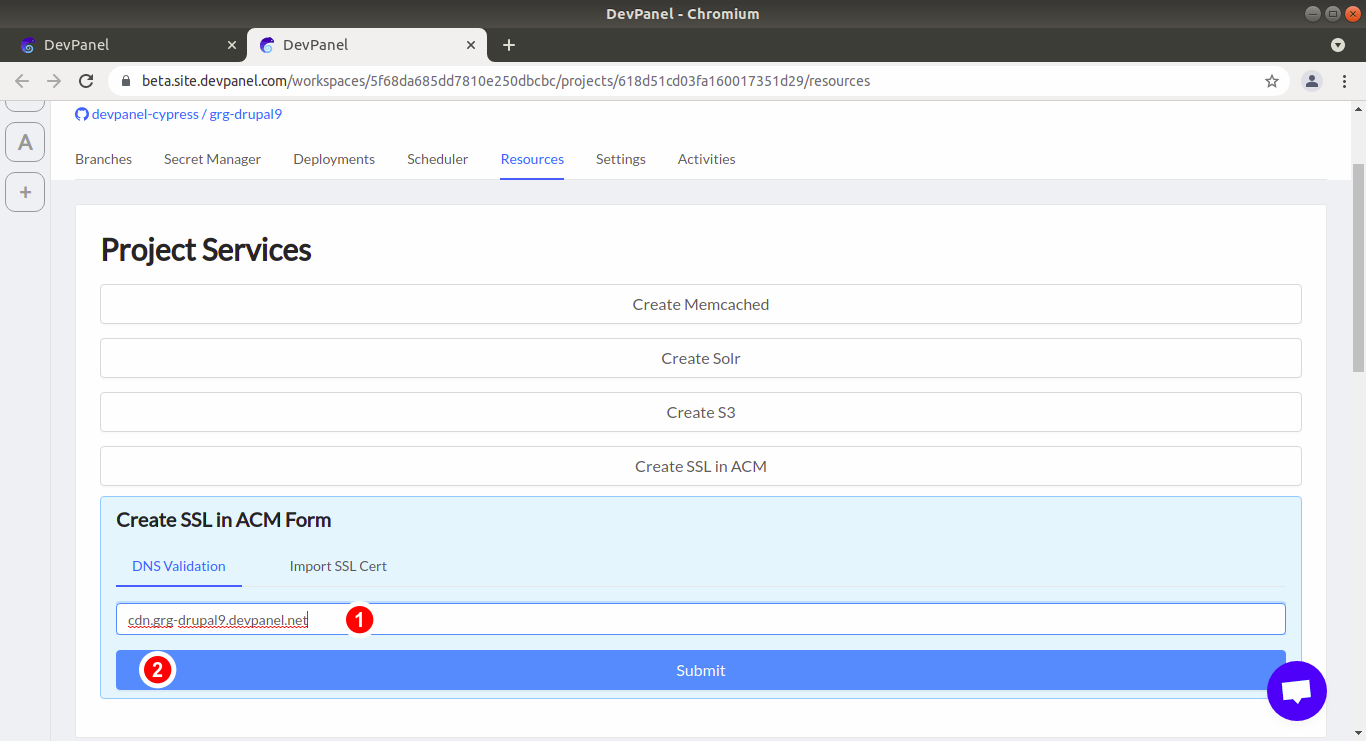
- Type the domain name
- Click "Submit"
After that, you will see the newly created CDN in INACTIVE state:
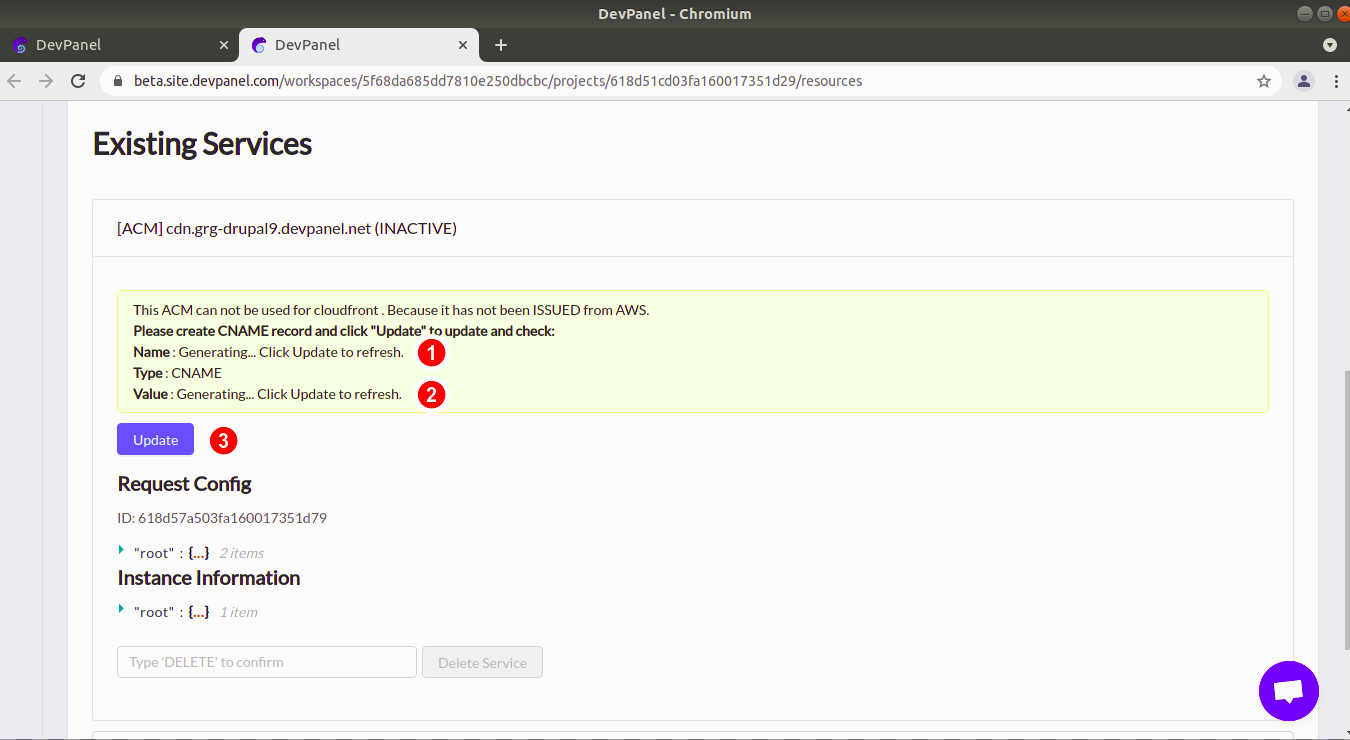
In order to make it active, you need to pass the verification process that will confirm that the domain is really yours, and for this purpose, you will be asked to create a CNAME record with the Name and Value that will be generated:
- Name of CNAME record. At first you will see "Generating" instead of the name.
- Value of CNAME record. At first you will see "Generating" instead of the name.
- Click "Update" as many times as needed until (1) and (2) are generated.
After that, you will see the Name and Value of the CNAME record that you will needto create for the verification process:
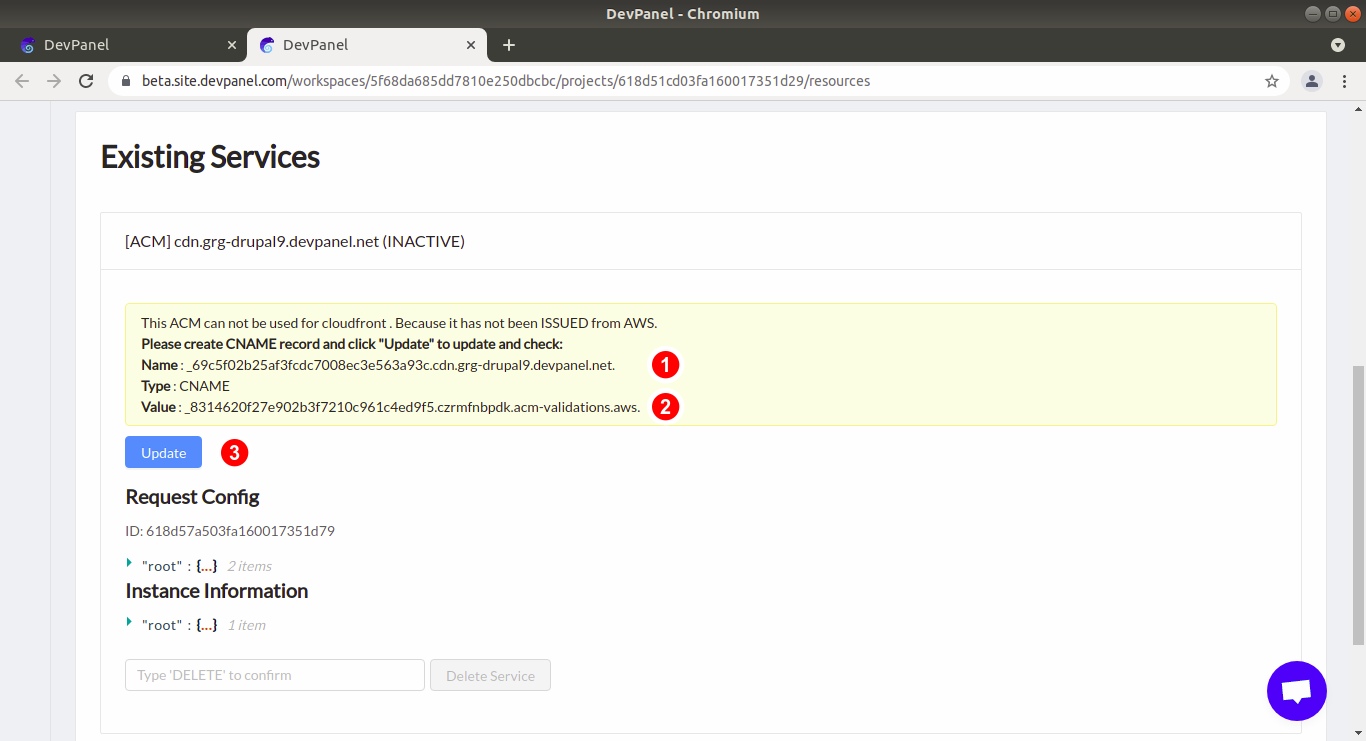
Create a CNAME record in your DNS - this should be done with your Domain Name Registrar (like Godaddy.):
- Name of CNAME record
- Value of CNAME record
- Once the CNAME record is created, you will need to wait for ACM to query your DNS to confirm that the record is created. This process make take up to 20 minutes and you'll need to click "Update" from time to time until the ACM state changes from INACTIVE to ACTIVE.
One the verification process is completed, you will see that the ACM became ACTIVE:
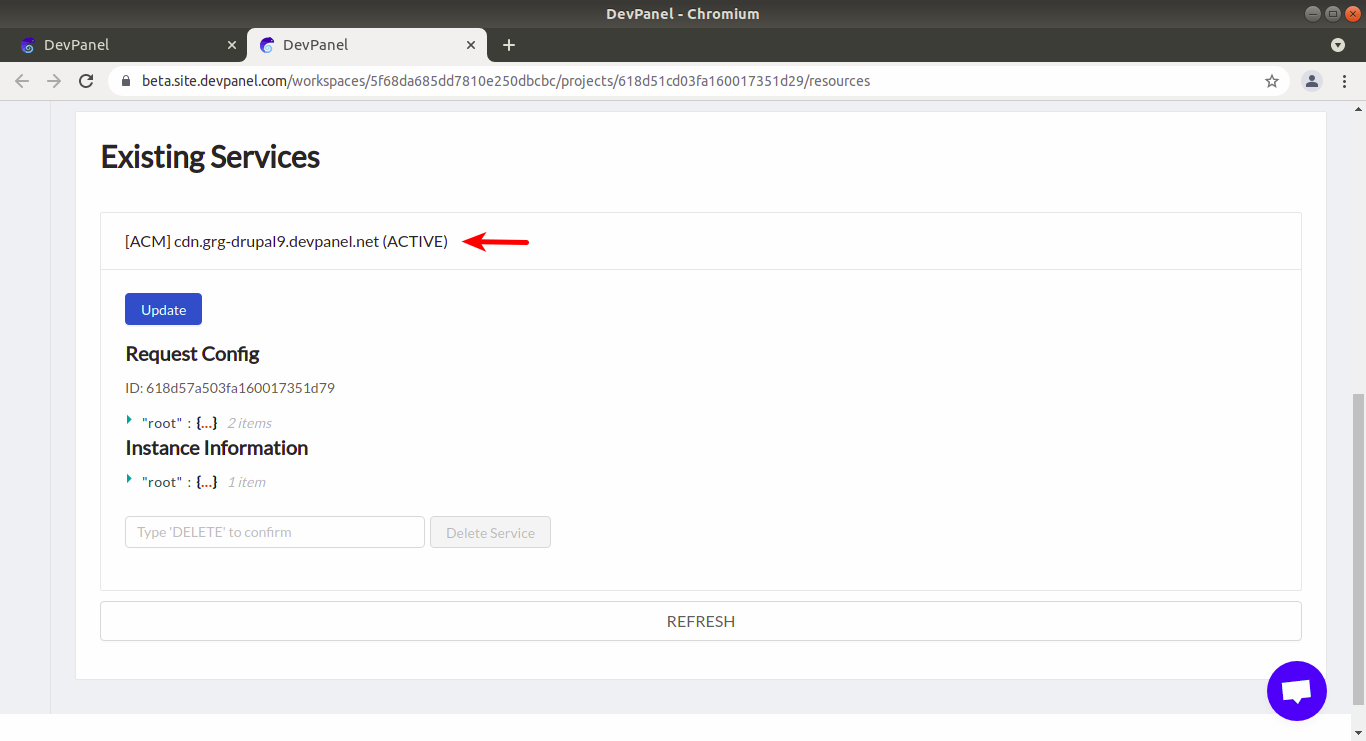
After that, return to the "CDN" tab of your application and continue CDN setup process as explained in the next section.
Setup CDN to use the active ACM instance
Once the ACM instance with SSL certificate for the custom domain of your choice is ACTIVE, it will be possible to select this domain name:
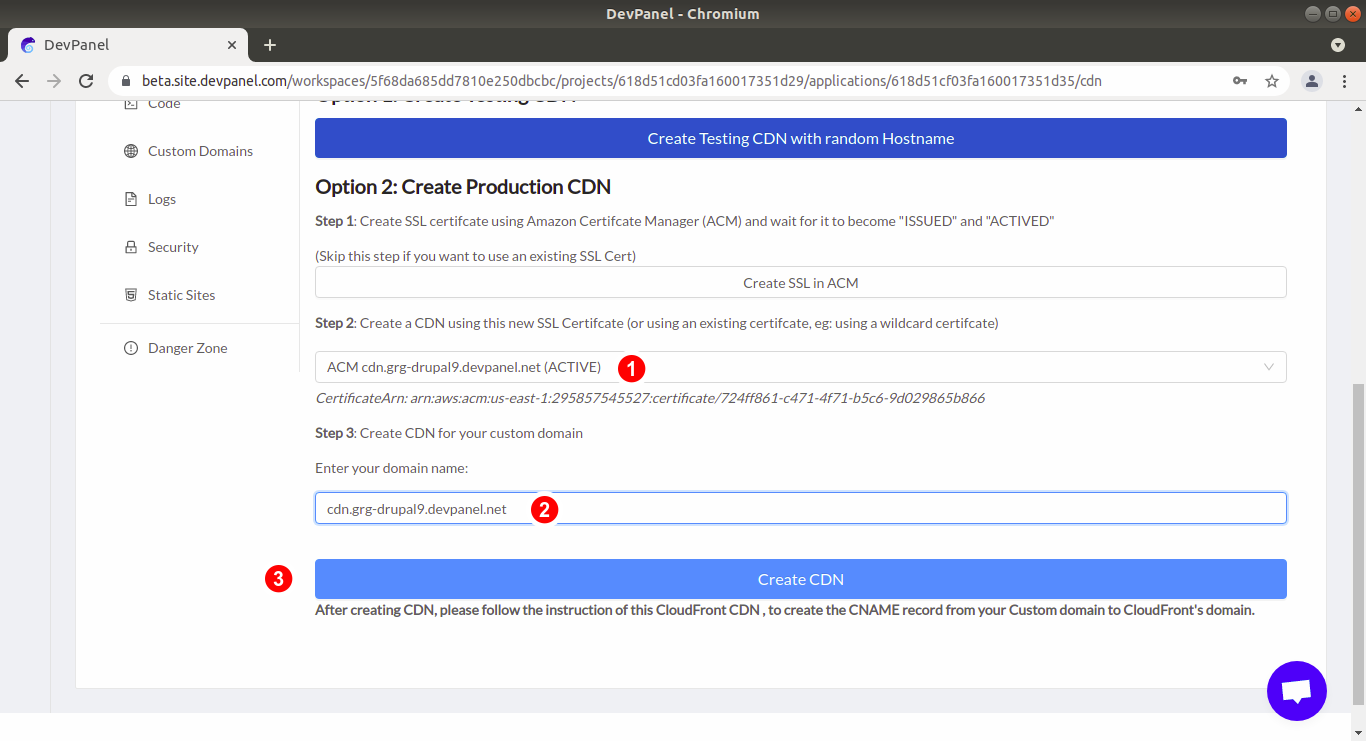
- Select the SSL certificate by selecting an active ACM instance from the dropdown menu
- The domain name in the next field will be autofilled with the same domain name.
- Click on "Create CDN"
If a wildcard certificate is used in (1), then the domain name specified in (2) must be more specific (contain some subdomain instead of * ).
Create a CNAME record for the custom domain
Scroll up and you will see the newly created CDN, which at first will be in INACTIVE state:
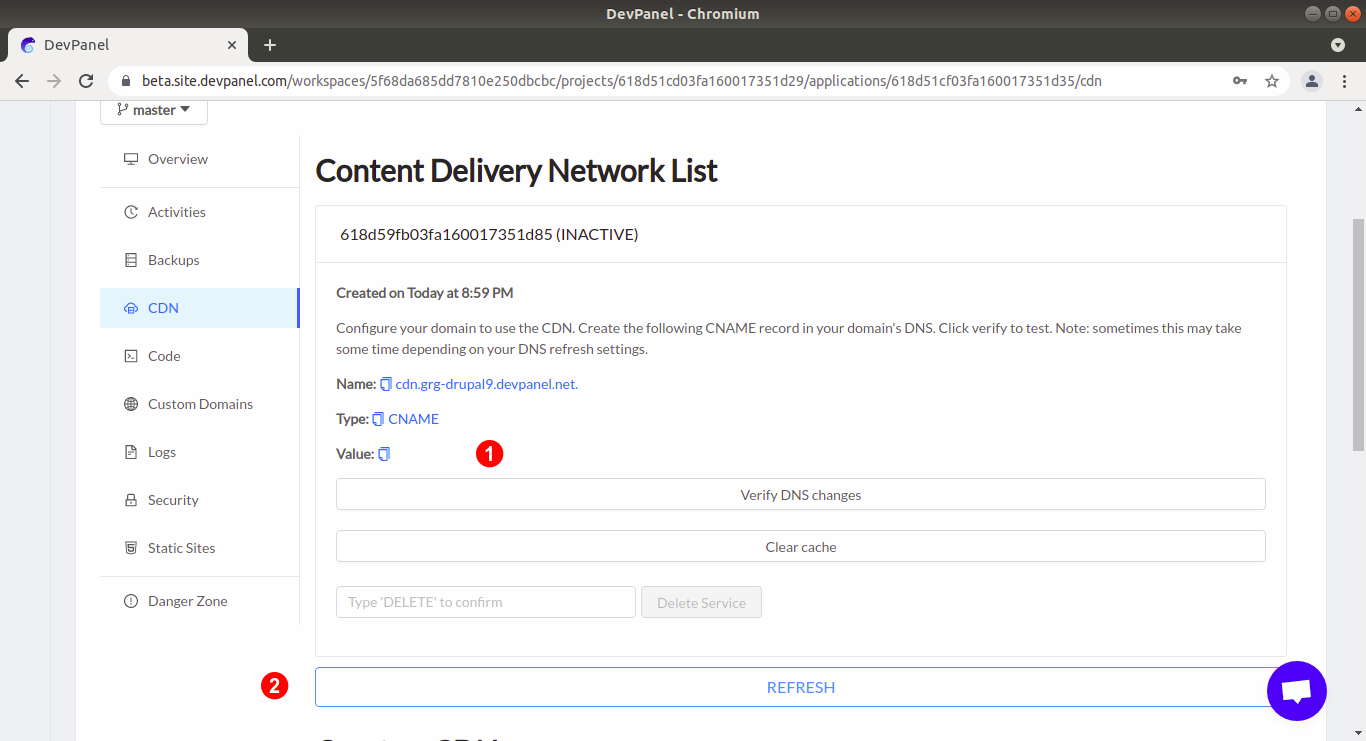
- While the Value of the CNAME record is empty, we need to wait for CDN to become active and the Value to be generated
- Click "Refresh" as many times as needed until the Value in (1) appears
Once the CDN becomes active, we will be able to see the data required for creation of another CNAME record:
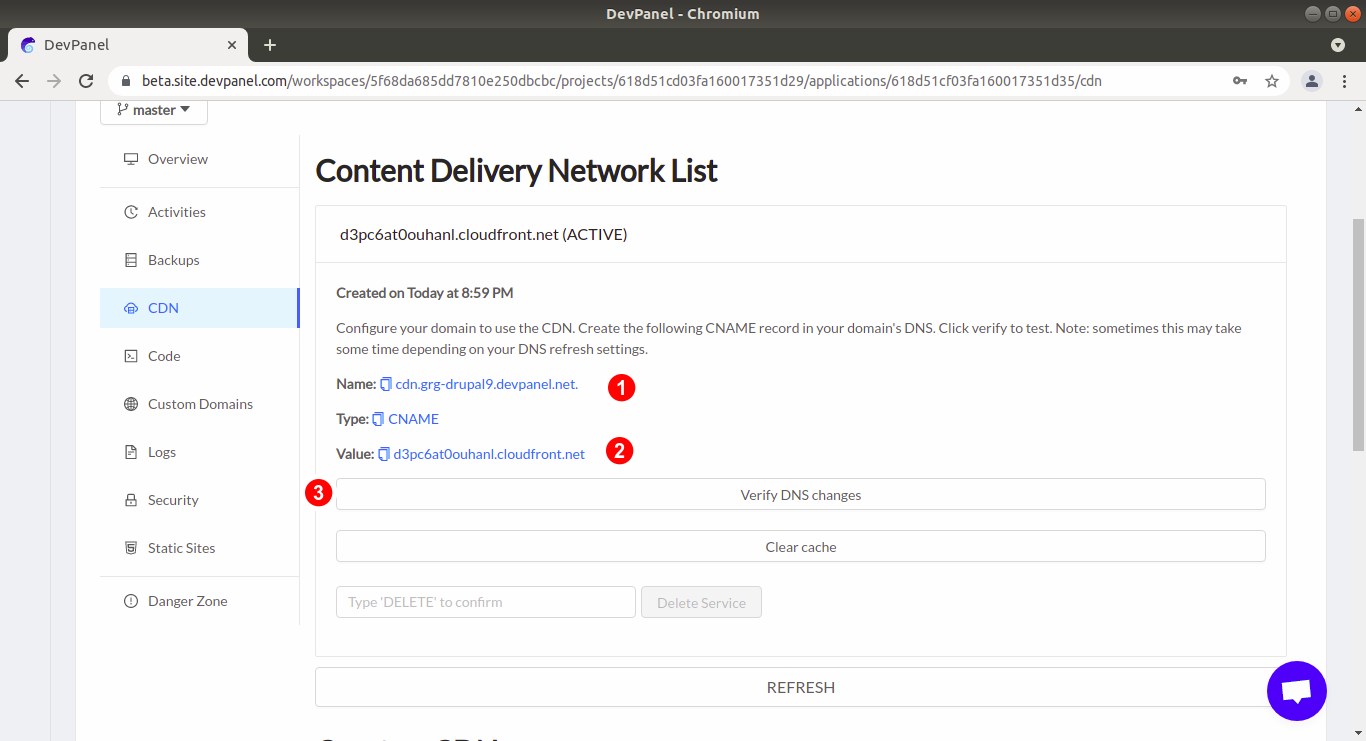
Create a CNAME record in your DNS - this should be done with your Domain Name Registrar (like Godaddy.):
- Name of CNAME record
- Value of CNAME record
- Click as many times as needed on "Verify DNS changes" until the new DNS record becomes available and the site with this domain name can be opened in a new tab of your browser.
It may take some time for the new CNAME record to become available at your local DNS server. If it's not available yet, you will an error in your browser saying that the site is not found:
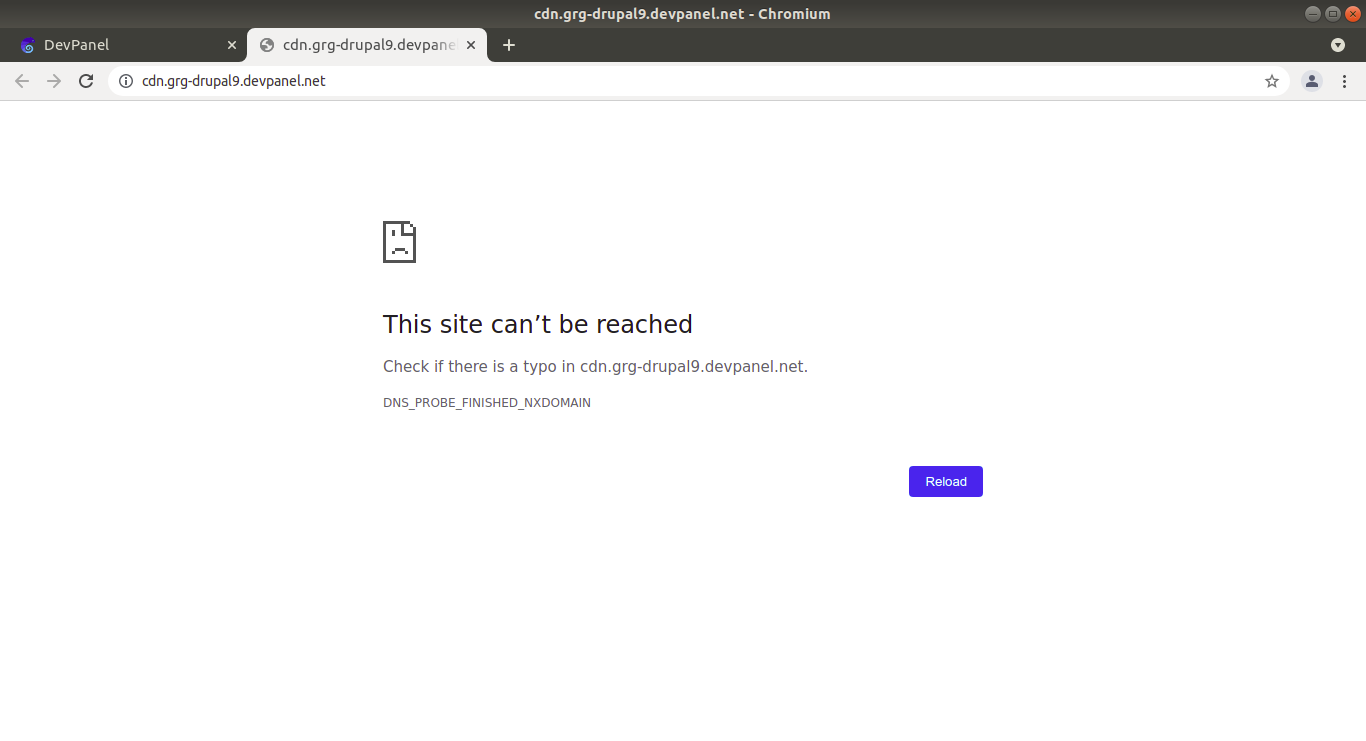
Once the CNAME record is available, you will be able to see your application.
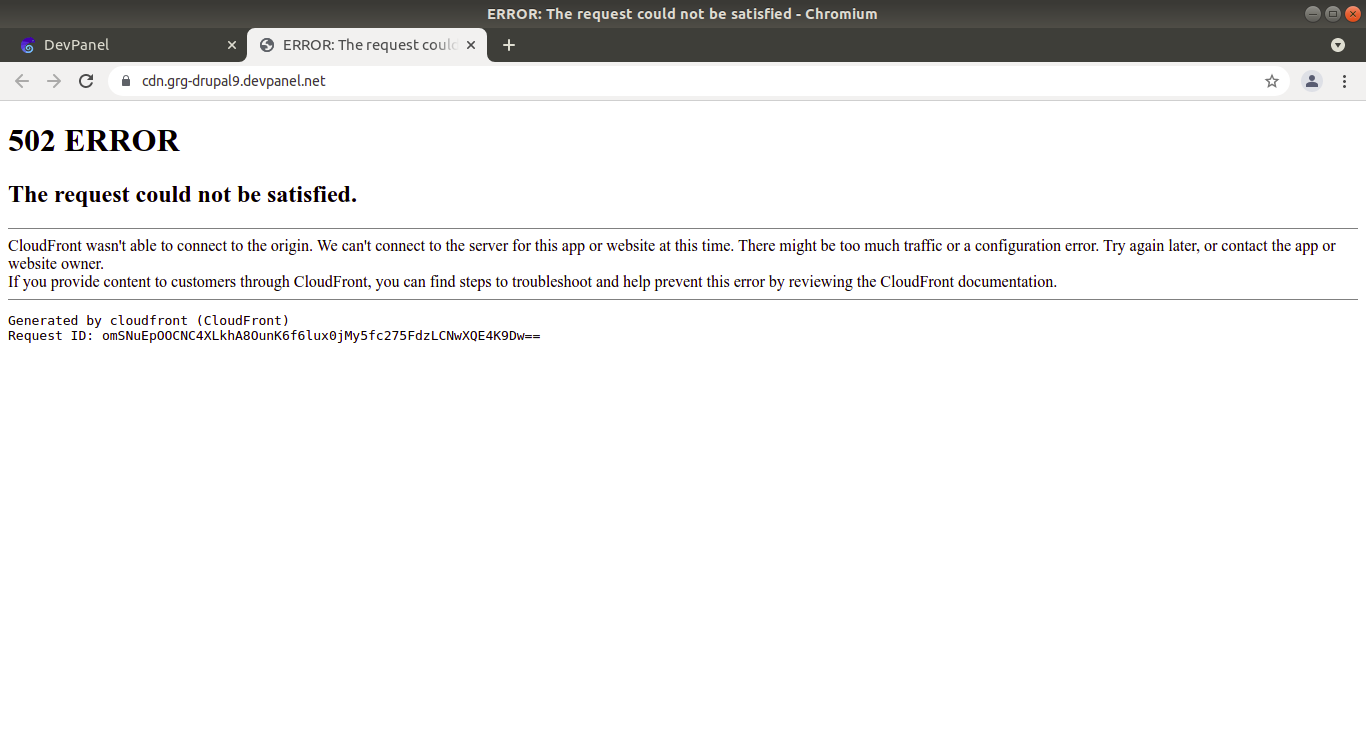
After CDN is setup and available, you can see a request error generated by CDN instead of your application, as shown on the screenshot below. It may take a few minites for this error to go away, and finally you should be able to see your application.
Here is the CDN request error that you might see during the first few minutes after CDN was setup: